How to do the operation of puncturing the intensity meter? Puncture strength meter is the most widely used equipment in the cardboard industry. Its testing method is also very simple. You can understand the following steps. The following are the details:
(I) Instrument and working principle (testing instrument: Haida HD-A510 puncture intensity meter)
1. The instrument structure includes a seat body, a pendulum, a clamping device, and a pointing device.
(1) seat body
Supports the instrument as a whole.
(2) Pendulum
It is composed of an arc swing arm, a pendulum shaft, a handle and a penetrating head. The penetrating head has a triangular pyramid shape, a height of 25 ± 0.7 mm, and a rounded radius of 1.5 mm. The piercing head is mounted on a 90-degree arc-shaped probe arm, and the pendulum head is used to pierce the paper puller to pierce through the pendulum motion.
(3) Clamping device
There are two horizontal upper and lower splints, and the effective area is not less than 175×175mm. The splints have an equilateral triangle hole with a length of 100 ± 2mm in the middle, and the holes in the upper and lower splints should coincide. During the test, the sample is clamped between two splints. The force applied between the upper and lower splints is not less than 250N (25kg), but the maximum is not more than l000N (100kg).
(4) Indicating device
Includes pointers and dials.
2. The working principle is placed in a certain position and has a bit of energy, the pendulum is released, and its position can be converted into kinetic energy and swing. Use its piercing head to impact the specimen and make it punctured. The total energy consumption during the puncturing process represents the puncture strength of the specimen, which is equal to the difference in potential energy at the beginning and at the end of the movement.
(II) Commissioning and proofreading of the device only 1. The adjustment of the position of the penetrating head is within the range of measurement. When the pendulum's center of gravity is at the lowest point, the tip of the penetrating head should be within 5 mm of the horizontal lever passing the axis of rotation of the pendulum. Otherwise, it is necessary to lift the balance scale ç £ adjustment.
2. Zero proofreading removes the weight placed on the specimen and clamps the specimen. Adjust the pointer to the maximum position, place it at the starting test position, and press the release button to swing the pendulum. The pointer should be at zero, otherwise Must be adjusted with the zero adjustment screw. When you change the weight of different weights, you must readjust the zero point.
3. Adjust the pointer's frictional force. Place the pointer at zero and place it at the test position. Press the release button to swing the pendulum. The pointer must not exceed 3 mm beyond zero. Otherwise, lubricate or loosen the pointer bearing. The pointer spring pressure is adjusted.
4. The adjustment of the pendulum shaft friction makes the pendulum freely swing to stop without any additional wheels, and the number of swings should not be less than 300.
5. After proofreading the zero point of the anti-friction ring resistance adjustment pointer, align an aluminum plate with an equilateral triangular hole with a side length of 61mm to the hole of the sample platen, press it in the middle of the pressure plate, and release the anti-friction ring. Pierce the head and observe that the resistance of the anti-friction ring should not exceed 78mJ (0.8kg·cm). If it does not meet the requirements, the three top ball screws that pierce the head can be adjusted to increase or decrease the pressure of the spring to adjust.
6. Calibration of total pendulum body moment A small shaft is added to the rear end of pendulum body counterweight hole. The end of the small shaft is equipped with a vertically downward screw, placed in the position to be released, and the bottom of the screw is on the balance. At one end or on the top of the scale pan, release the pendulum and add a weight on the other side of the scale until the top plane of the pendulum is parallel, ie the balance is balanced.
(3) Determination steps and results calculation (1) Place 175 × 175 mm sample in the middle of the splint, adjust the hand wheel, and press the spring evenly to compress the sample. The pressure can be adjusted to 250-600N (25- 60kg) range.
(2) Dial the pointer to the highest scale value, place the anti-friction ring on the piercing head and place it in the position to be measured. Press the release button, the pendulum is released, pierce the head and puncture the sample, the pointer on the dial indicates the puncture strength of the sample, represented by J, accurate to 1 grid. The result of the measurement should be within 20-80% of the scale value. Otherwise, the weight of the weight should be adjusted.
(3) Raise the handle to return the pendulum to its original position, turn the hand back, turn the handwheel, replace the sample, and perform the next measurement. Take 8 samples, half (positive and negative each) in the direction of longitudinal parallel to the oscillating plane, half (both positive and negative) are measured transverse to the direction of the oscillating plane, arithmetic of all measured values The average represents the result and reports the maximum and minimum values.
(4) Precautions:
(1) After the measurement is completed, the safety handle must be dialed back and the pendulum body must be fixed.
(2) When the instrument is unloaded, it is not allowed to freely release the pendulum body so as not to damage the instrument.
The above is the specific operation method of puncturing the intensity meter. If there are any questions, please feel free to contact us. The puncture strength meter produced by Haida Instrument is of preferential price and quality guaranteed.
Article source: Dongguan Haida International Instruments without permission to prohibit reprint! (Or: if you need to reprint, indicate the source)
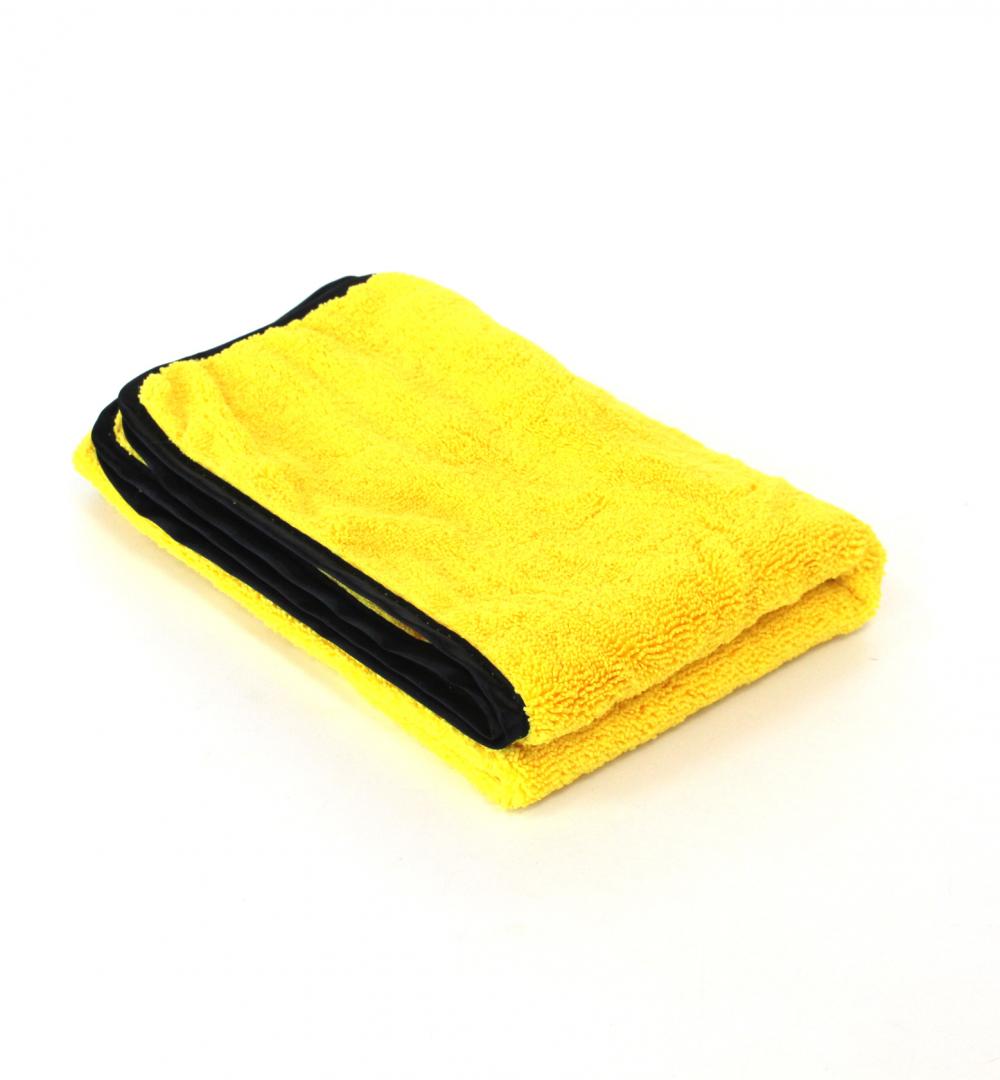
Auto Cleaning And Waxing Towel
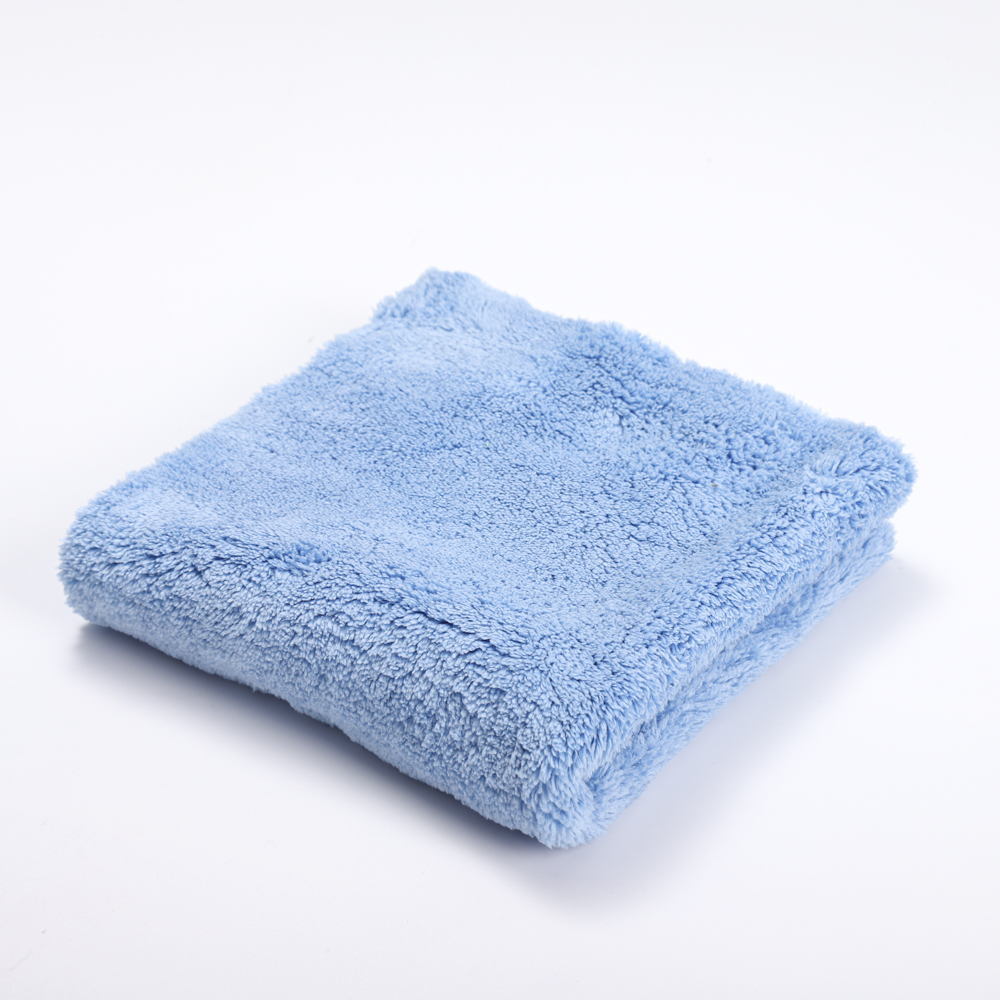
Auto cleaning towels are the perfect tools for achieving a spotless and streak-free finish on your vehicle. Made from high-quality microfiber material, this towel is ultra-soft and gentle on your car's delicate surfaces, yet tough enough to remove dirt, grime, and other stubborn stains. The unique microfiber technology traps and lifts dirt and debris away from your car's surface, ensuring a scratch-free and swirl-free wash every time. With its large size and absorbent properties, this towel can hold up to seven times its weight in water, making it ideal for drying and polishing your car's exterior. The durable and long-lasting material is machine washable and can be used over and over again, making it a cost-effective and eco friendly choice for car enthusiasts. Whether you're a professional detailer or a car enthusiast, our microfiber car washing towel is a must have for achieving a showroom quality finish on your vehicle.


Auto cleaning towels,microfiber car washing towels,microfiber car drying towels,car detailed and eaxing towel
jiangsu qiyun cleaning knitting product co.,ltd , https://www.jarfrry.com